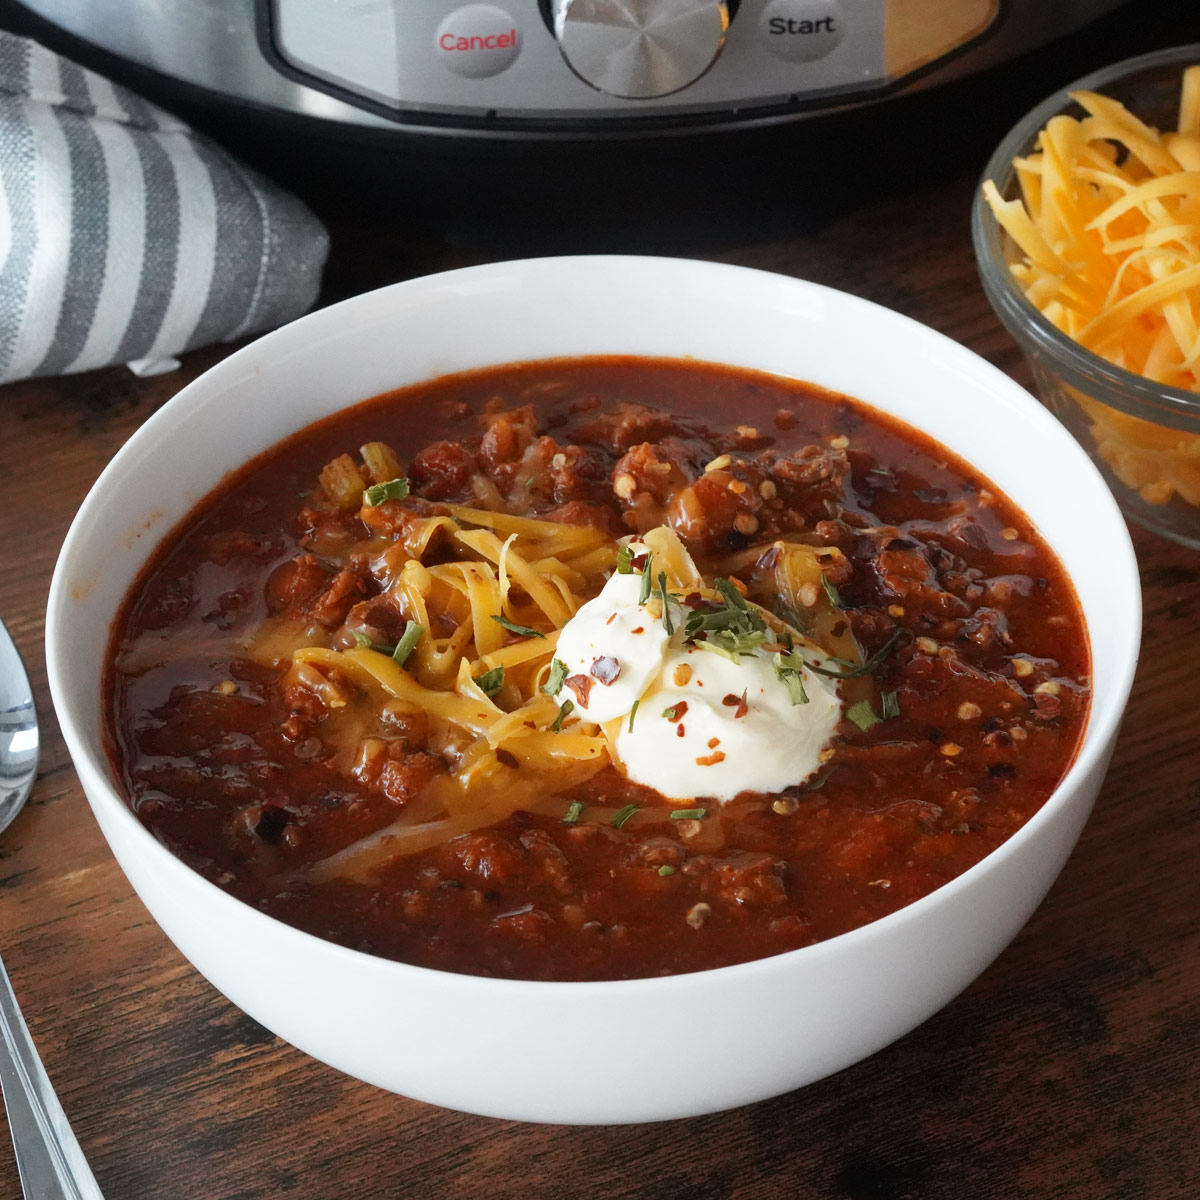
There’s a ton of flavor packed into this Instant Pot Chili recipe with ground beef and pork, beans, tomatoes, and oodles of spices, and the best part is it only takes about 30 minutes from start to finish.

In the past having chili meant you would be in the kitchen most of the day simmering it on the stove building flavor. That isn’t the case anymore. The Instant Pot is such a great way to make chili. Cooking this chili recipe under pressure helps build that, simmered all day flavor, that we have all come to expect.
Why You’ll Love It
- This Instant Pot recipe is packed full of the bold flavors you’d expect from a chili that’s been stewed for hours. There’s nothing better than a big bowl of chili on a cool, fall day. It’s the perfect bowl of deliciousness.
- The Instant Pot is able to give chili the deep flavor that it usually takes hours on the stove top to develop. So will you believe me that this only cooks in the pressure cooker for 10 minutes?
- Chili is very versatile. Don’t like ground beef? No problem, leave the meat out or use ground turkey. You can add more beans or less. Change it to fit the taste of your family.
Tony says: ![]() Just made it, and it turned out great. I love how fast it all comes together! (I used Rancho Gordo beans that I had cooked earlier, so I just added those after all the other ingredients were cooked). This is a recipe that will be added to our weekly rotation! 🙂
Just made it, and it turned out great. I love how fast it all comes together! (I used Rancho Gordo beans that I had cooked earlier, so I just added those after all the other ingredients were cooked). This is a recipe that will be added to our weekly rotation! 🙂
Katie Lowery says: ![]() Great, easy, tasty chili! No pork, but followed the recipe for everything else, and it turned out great!
Great, easy, tasty chili! No pork, but followed the recipe for everything else, and it turned out great!

» You’ll also love this Homemade Instant Pot Tomato Sauce.
Ingredients You’ll Need
Yes, there are quite a few ingredients in this Instant Pot chili. I admit that I don’t love looking at that long list and wondering if I even have everything. But it’s mostly spices and they’re ones you very likely already have on hand.
I’m a firm believer that you don’t need any crazy ingredients to make great chili. Some people like to put chocolate, cinnamon, and even fish sauce in their chili. That’s fun once in a while, but there’s no need to add crazy things to make a delicious bowl of chili.

- Ground beef and pork – I use both because it adds a richness of flavor and a slightly different texture. You can just one one or the other, if you like. You might substitute the pork for chunks of steak, which is also an amazing texture for chili.
- Onion, Celery & Garlic – These are the trinity of flavor in cooking. You can’t get away without it. They add a tremendous amount of flavor to the chili.
- Tomato paste and a can of diced tomatoes
- A can of pinto beans – there’s debate about what the best bean is for chili. I prefer pinto beans. You can use your favorite beans instead, if you want. Black beans, Great Northern beans, and kidney beans are all great options.
- Water
- Beef bouillon cube – you can also go with a cup of beef broth in place of the water and bouillon cube
- Spices – chili powder, ground cumin, salt, oregano, paprika, white sugar, ground black pepper, dried cayenne pepper
- Worcestershire sauce – Adds a salty umami flavor.
- For garnish – shredded cheddar cheese, sour cream, green onions, red pepper flakes
Equipment Needed
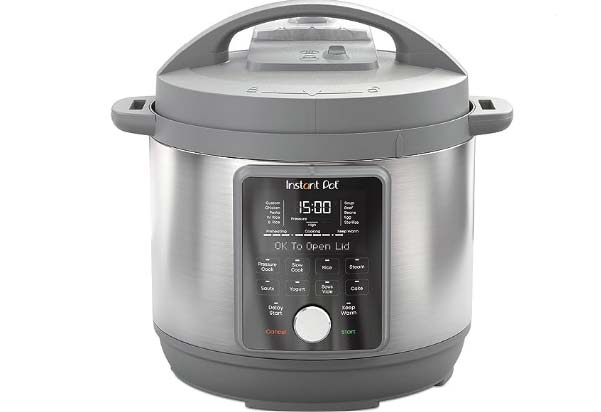
- Instant Pot – I use a 6-quart Instant Pot Duo Plus to make all of my recipes, but you can use any size or brand of electric pressure cooker. If you’re using an 8-quart pot, you will need to adjust the amount of liquid accordingly, as it requires more water to build steam.
- Soup ladle – You need something to scoop your chili out with.
Expert Tips to Follow
- If you like a soupier, not so thick chili, you can add an additional 1/2 cup water or broth to loosen it up.
- You want to make sure you get up any browned bits that stuck to the bottom while browning the meat. Otherwise, you may get a burn notice while cooking.
- If you have people who don’t like spicy foods use mild chili powder and then add additional cayenne pepper to reach your desired level of heat.
- Chili freezes really well. You can freeze any leftovers in single serving containers for easy dinners in the future.
- You can mash up half of the beans before you add them to pot. It will make the chili consistency slightly thicker. My dad swears by adding a can of refried beans to his chili.
How to Make Chili in the Instant Pot
Step 1: Sauté

Heat the Instant Pot on sauté mode for 3-5 minutes. When hot, add oil to the inner pot, then add the beef, pork, onion, celery, and garlic. Break up the meat as it browns, so you’re left with a crumble.
Step 2: Add Remaining Ingredients

Once the meat is browned, add the remaining ingredients and stir well. You want to be sure you get up any browned bits that stuck to the bottom while browning the meat.
It might seem thick, but it will turn out just the right consistency once cooked. If you prefer a more soup-like chili, you can add an extra cup of water to thin it out.
Step 3: Pressure Cook

Lock on the lid and make sure the vent is set to sealing. Press the Pressure Cook button and set the time to 10 minutes. It doesn’t seem like a long time, but it’s plenty of time to develop tremendous flavor thanks to the high pressure the ingredients will be under.
When the time is up, allow for a natural pressure release. This will take about 15 minutes.
Step 4: Serve

Once the pressure is released, the pressure cooker chili is ready to eat. However you can keep it on warm in the Instant Pot for as long as you like. If you have the glass lid for the Instant Pot, you can even leave the chili in the pot until you’re ready to serve it. Guests can just scoop their portion right out of the pot.
Serve with your toppings of choice.
Heat & Chilies
When you’re choosing the chili powder that you’re going to use in this Instant Pot chili, be sure to mind whether it’s mild or hot. The recipe calls for two tablespoons of chili powder, which adds a ton of flavor.
But that amount of hot chili can be overpowering and too spicy for many people. I use mild chili powder and then add additional cayenne pepper to reach my desired level of heat. If you are interested in making the chili powder yourself try this recipe.
How Do You Thicken Chili In An Instant Pot
There are many ways to thicken up a watery chili. This recipe hasn’t come out too watery for us but there is always a first time. The first thing you should do is let this chili sit in the Instant Pot for 5-10 minutes. Many times it will thicken as it sets.
If you need a few ideas try one of these methods for thickening your chili:
- You can mash up half of the beans before you add them to pot. It will make the chili consistency slightly thicker.
- Add a thickening agent to your chili after it has cooked if you need to thicken it such as cornstarch, flour, or potato starch.
- The properties of cornmeal are similar to those of flour. By absorbing excess liquid, cornmeal thickens the chili. Thickening chili with cornmeal may be the best method. You can even use polenta or masa flour to make the dish fancier.

What If I Get the Burn Notice?
If you’re cooked a lot of thicker stews and casseroles in the Instant Pot, you’ve probably gotten the burn noticed a time or two.
The burn notice is caused typically by one of two things. Either there isn’t enough water in the food content, or there are still browned bits on the bottom of the pot from when you sautéed the meat.
If you get the burn notice, first cancel the cooking, remove the lid and see if you can scrap the bits from the bottom of the pot. Try cooking again.
If you still get the burn notice, add an additional 1/2 cup of water to the pot. The extra water won’t affect the chili’s flavor, so no worries.
Store and Reheat
Storing
Refrigerator – If you have leftovers, let the chili cool down to room temperature. Then put it in an airtight container and keep in the refrigerator for at least 5 days.
Freezer – Freezing is a great option for preserving leftovers. It will keep in an air tight container for at least a month.
Reheating
Instant Pot – When you’re ready to eat it, you can reheat it in the Instant Pot on sauté mode until it’s heated through.
Microwave – Put it in a microwave safe bowl and cook it until heated through.
Stove top – Place the chili in a saucepan and heat over medium-high heat until heated through.
What to Serve With This Chili Recipe
I like to add shredded cheese and sour cream to my chili but the possibilities are endless. You might also serve green onions, avocado slices, lime wedges, cilantro, red pepper flakes and oyster crackers on the side so everyone can top it how they like it.
As for side dishes, here is a list of great sides to serve.
Bread – Breads are great to sop up this delicious chili. Try this Instant Pot cornbread, cheesy bread, biscuits or even cinnamon rolls.
Potatoes – I really think that there isn’t a meal that doesn’t go well with potatoes. Give these Instant Pot baked potatoes a try. These crispy smashed potatoes as well as these crispy potato skins.
Veggies – A fresh green salad, Instant Pot acorn squash, or roasted winter vegetables can help complete this hearty and delicious meal.

Questions About the Recipe
Can this Instant Pot chili recipe be doubled?
Yes, you can definitely double this recipe. It makes 4 servings. If you’d like to make a larger batch, you can double it in a 6-quart pot or you can even triple it in an 8-quart Instant Pot. Just be sure not to go over the 2/3 fill line.
Should I use the chili setting on the Instant Pot?
If you have a Beans/Chili setting on your Instant Pot, I would not recommend using it for this recipe. That setting is used to cook stews or chilis that start with dried beans. It won’t work well for this recipe.
What can I add in place of the beans?
This Instant Pot chili is just as hearty and filling without them but, you could add more vegetables in place of the beans. Try adding green beans, mushrooms, or eggplant.
>> Have you tried making homemade bone broth? The Instant Pot is one of the easiest ways to make it at home.
YOU MIGHT ALSO LIKE


Like this recipe? We’d love for you to share it on your Pinterest boards! Click to follow our Pinterest boards so you can find all our recipes! You can also find us on Facebook!
Instant Pot Chili
Note: Made in a 6-qt Instant Pot
Equipment
- Soup ladle
Ingredients
- 1 tablespoon (15 ml) cooking oil
- 1/2 pound (227 g) ground beef
- 1/2 pound (227 g) ground pork
- 1/2 yellow onion chopped
- 1 stalk celery chopped
- 1 clove garlic minced
- 4 ounces (113 g) tomato paste
- 1 15 ounce (454 g) can diced tomatoes with juice
- 1 15 ounce (454 g) can pinto beans drained
- 1 cup (237 ml) water
- 1 cube beef bouillon
- 2 tablespoons (16 g) chili powder
- 1 tablespoon (6 g) ground cumin
- 1 tablespoon (15 ml) Worcestershire sauce
- 2 teaspoons (12 g) salt
- 1 teaspoon (2 g) dried oregano
- 1 teaspoon (2 g) paprika
- 1 teaspoon (4 g) white sugar
- 1/2 teaspoon (1 g) ground black pepper
- 1/2 teaspoon (1 g) cayenne or chipotle powder add extra for more heat
- For garnish: shredded cheddar cheese sour cream, green onions, red pepper flakes
Instructions
- Heat the Instant Pot on saute mode for 3-5 minutes. When hot, add oil to the inner pot, then add the beef, sausage, onion, celery, and garlic. Break up the meat as it browns.
- Once the meat is browned, add the remaining ingredients and stir well.
- Lock on the lid. Press the Pressure Cook button and set the time to 10 minutes.
- When the time is up, allow for a natural pressure release.
- Serve with your toppings of choice.
Video
Notes
- If you like a soupier, not so thick chili, you can add an additional 1/2 cup water or broth to loosen it up.
- You want to make sure you get up any browned bits that stuck to the bottom while browning the meat. Otherwise, you may get a burn notice while cooking.
- If you have people who don’t like spicy foods use mild chili powder and then add additional cayenne pepper to reach your desired level of heat.
- Chili freezes really well. You can freeze any leftovers in single serving containers for easy dinners in the future.
Nutrition

Laura is a passionate home cook and the owner of A Pressure Cooker Kitchen. She is dedicated to helping people create delicious Instant Pot meals with ease. Laura is an expert at developing recipes that can be prepared quickly and easily using a pressure cooker.
What is the point of using an instant pot for this recipe? Since you’re using canned beans as opposed to dry, you’d get a better result on the range since you’d get more reduction with about the same cooking time.
There are many benefits to cooking chili under pressure. Because it cooks faster and very little moisture escapes, the flavors are richer and more developed. It would take a lot more time to develop the same flavor on the stovetop. Also, some people like the ease of cooking in the IP because you don’t have to keep an eye on the stove for an hour or longer.
And only one dirty dish!
Doubled the recipe, turned out liked watery soup. For the time spent cooking it down (and thereby overcooking the beans) would have been easier on stove top by far.
I’ve never had it turn out watery and I don’t cook it down at all. The consistency is exactly as shown in the photos. Did you use tomato sauce or paste? That could slightly change the consistency.
I used paste – everything per the recipe except the quantities were doubled
You have to consider that reduction happens through evaporation, which scales by surface area, not volume. So if it’s in a straight sided pot, the same amount of water will evaporate in a given time no matter how full the pot is and the onion, peppers and tomato all give off water as well. That’s why restaurant chefs use a Windsor pot for making large batches of reductions.
Source: https://www.reddit.com/r/Cooking/comments/79gfwn/i_want_to_double_a_chili_recipe_do_i_just_use/
I was wondering if I could use stew meat instead of ground
Yes, absolutely! Just cut the pieces small to ensure they have time to cook to tender.
Great, easy, tasty chili! No pork, but followed the recipe for everything else, and it turned out great!
Just made it, and it turned out great. I love how fast it all comes together! (I used Rancho Gordo beans that I had cooked earlier, so I just added those after all the other ingredients were cooked). This is a recipe that will be added to our weekly rotation! 🙂
So glad to hear you liked it Tony!
Took a gamble with this, so glad I did. My husband is the chili eater, and he loved it. Turned out perfect!!
So happy to hear that Laura! Thanks for giving our recipe a try.