Converting a traditional recipe into a pressure cooker or Instant Pot recipe can be a great way to save time and energy in the kitchen, especially if you enjoy using your pressure cooker.
I’m one who leaves my Instant Pot on the counter right next to the oven, and I use it a whole lot more often than my oven, especially in the colder months when I’m making soups, stews, and braised meats more regularly.
I think what holds people back from using the pressure cooker more often is a lack of suitable recipes and a little bit of fear of messing up. What if you ruin dinner? No one wants that. While I can’t take the fear away (it comes with practice), I can help you convert a recipe into a pressure cooker recipe, whether it’s from an Instant Pot, oven, stovetop or slow cooker recipe. So that’s what we’re going to do today.
Key Takeaways
- Ensure the recipe is suitable for pressure cooking, including liquid requirements and whether ingredients will fit in the pressure cooker.
- For recipes without enough liquid, you can use the pot-in-pot method.
- You may need to reference similar recipes or charts to determine the ideal cooking time.
- Certain ingredients, such as thickeners or dairy products, must added after pressure cooking for best results.
Choose a Suitable Recipe
First of all, not all recipes are suitable for the pressure cooker. The Pressure cooker requires liquid to build steam – that’s how it cooks. So a recipe must have adequate liquid to work in the pressure cooker. That typically includes most slow cooker recipes, soups, stews, pasta, rice, and dishes with meats, beans, legumes, or grains.
However, if you’re using an Instant Pot, the pot-in-pot method enables you to cook just about anything regardless of water content. More on that later.
Once you’ve solved the water issue, you’ll also need to convert the cooking time, which is where trouble typically arises. I usually reference a similar recipe that’s already written for the pressure cooker to determine how long to cook it. There are also reliable charts you can reference. For the Instant Pot, check our Cooking Times Cheat Sheet. For a traditional stovetop pressure cooker, see this chart.
Pot-in-Pot Cooking Method
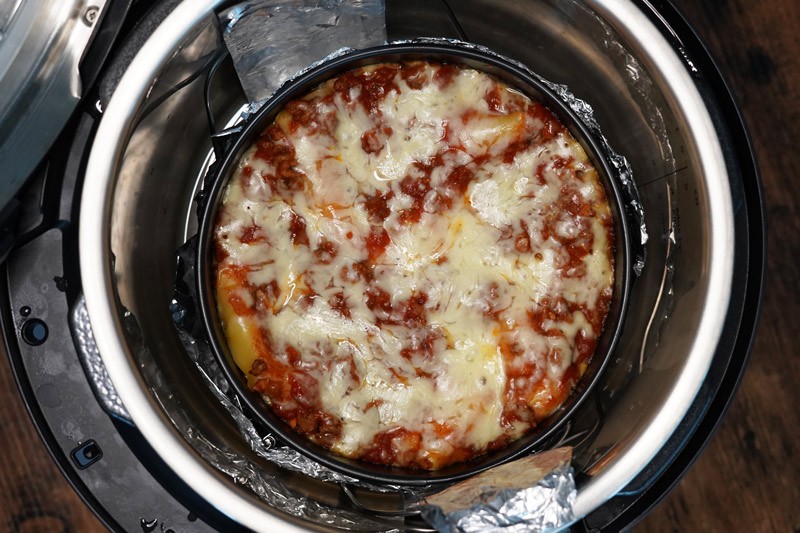
For anything you might want to cook that does not contain enough water or is too thick, you can still cook it in the Instant Pot with the pot-in-pot method. This entails putting the food into a different pot inside the Instant Pot, set on the trivet, so you can place the necessary water into the bottom of the inner pot.
I use this method to cook things like lasagna, casseroles, stuffing, cakes, breads, enchiladas, etc. To do this, you can follow any recipe you want, put it into a pot that fits and can safely be used in an Instant Pot, pour the necessary water into the base, and cook it on high pressure.
Most recipes require 2/3 LESS time than is required in the oven. If you’re cooking a lasagna in the Instant Pot and it calls for 60 minutes in the oven, you can cook it for 20 minutes in the Instant Pot.
Converting an Oven or Stovetop Recipe to Pressure Cooker

Converting a regular oven or stovetop recipe to a pressure cooker involves several adjustments, as pressure cookers work differently than ovens. Here are some top tips to help you make the transition:
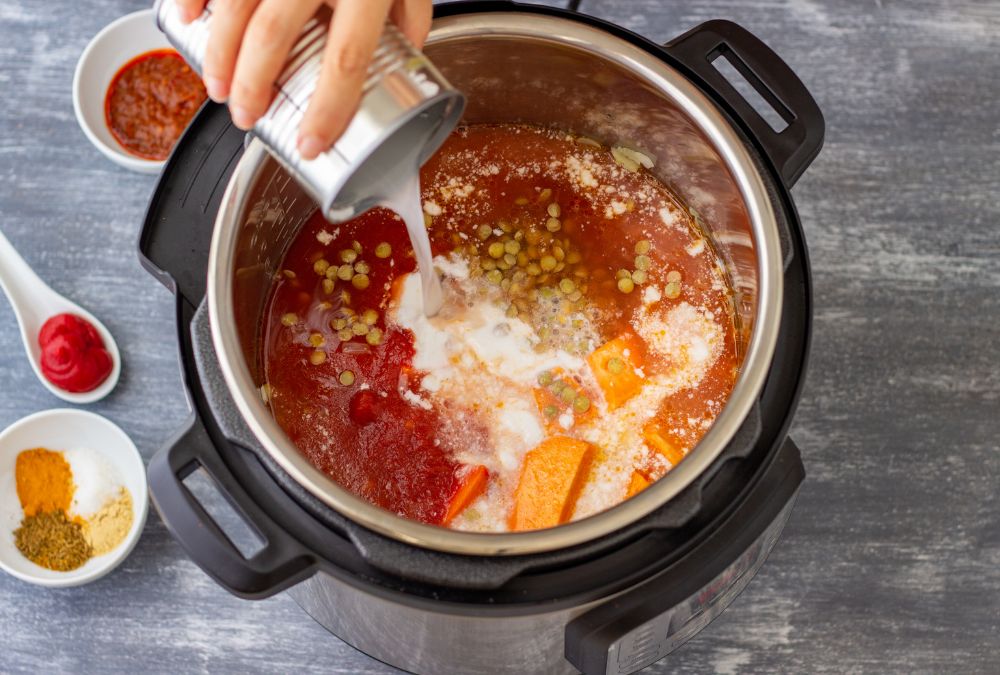
- Reduce Liquids: You always need at least 1 cup of water in a pressure cooker to build steam and properly cook a dish, but pressure cookers also require less liquid because the sealed environment prevents evaporation. If your oven or stovetop recipe includes a liquid (like braised beef or pork that needs to be immersed in liquid), you can reduce the quantity for the pressure cooker. You’ll only need one cup, unless you want more for sauce.
- Adjust Cooking Time: Cooking times are significantly reduced in a pressure cooker. A general guideline is to take the oven cooking time, divide it by two or three. For instance, if a recipe takes 1 hour in the oven, it may only need 20-30 minutes in the pressure cooker.
- Brown First: If your oven recipe involves browning meat or sautéing vegetables, do this first in the pressure cooker using the sauté function or on the stovetop (if using a stovetop pressure cooker). This step adds depth of flavor to the dish.
- Cooking Meats: The size of meats you cook in the pressure cooker will determine the cook time, not the weight. Cooking a whole 3-pound roast will take longer than cooking 3 pounds of beef chunks.
- Layering Ingredients: Place ingredients that take longer to cook (like meats and root vegetables) at the bottom, closer to the heat source. More delicate ingredients (like non-root veggies or pasta) should be added later or placed on top.
- Thickening Sauces: Since there’s no evaporation, sauces won’t naturally thicken in a pressure cooker as they do in an oven or pot. If your recipe requires a thicker sauce, use a cornstarch slurry (cornstarch mixed with a little cold water) and add it after pressure cooking. Then, bring to a simmer using the sauté function to thicken the sauce.
- Consider the Ingredients’ Cooking Times: Some ingredients cook faster than others. For recipes with a mix of ingredients (like a stew with meat and vegetables), start by pressure cooking the longer-cooking items, then release pressure, add the quicker-cooking items, and pressure cook again for a few minutes.
- Don’t Overfill: Never fill the pressure cooker more than two-thirds full, as it needs space to create pressure. For foods that expand (like rice or beans), limit the fill to half.
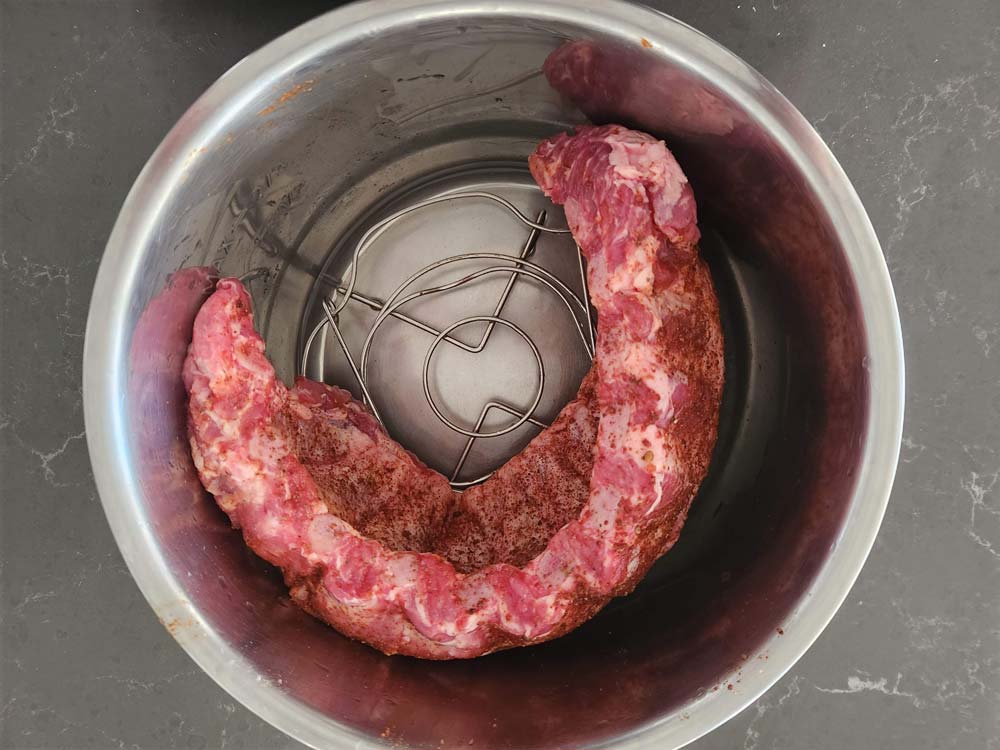
- Use a Rack or Steamer Basket: For items that you don’t want to sit directly in liquid (like a whole chicken or cake), use a rack or steamer basket inside the pressure cooker.
- Trial and Error: As with any cooking method, converting recipes to a pressure cooker might require some experimentation to get it just right. Take notes on what works and what doesn’t for future reference.
Converting Instant Pot Recipes to Stovetop Pressure Cooker Recipes
You will find more Instant Pot recipes than stovetop pressure cooker recipes these days. That’s because the Instant Pot makes pressure cooking less stressful and scary for home cooks.
If you only have a stovetop pressure cooker, but still want to use all those IP recipes you find, it really shouldn’t be a problem converting it.
Here are a few key points to keep in mind:
- Heat Source and Temperature Control: One of the biggest differences is heat control. An Instant Pot automatically regulates heat to maintain pressure, while you’ll need to do this manually with a stovetop model. After sealing the cooker and reaching high pressure (indicated by the pressure indicator rising or a steady stream of steam), lower the heat just enough to maintain pressure. This might take a few tries to get right as every stove and cooker is a bit different.
- Timing Adjustments: Stovetop pressure cookers often reach higher pressures and faster than Instant Pots, which can mean shorter cooking times. You will likely need reduce your stovetop cooking time by about 10-15% compared to the Instant Pot recipe. For example, if a recipe calls for 30 minutes in an Instant Pot, start with about 25 minutes on the stovetop.
- Release Methods: Be aware of the release method specified in the Instant Pot recipe (natural release or quick release). Stovetop pressure cookers can do both, but the method impacts the total cooking time and texture of the food.
- Liquid Quantities: Stovetop pressure cookers may require more liquid than Instant Pots because they can lose more steam. However, this varies by recipe, so use your judgment and adjust only if you think it’s necessary.
- How Do You Know It’s Done: The first time you convert a recipe, there will be the possibility of not getting it right. In my opinion, it’s better to undercook slightly, as you can always cook more, but you can’t undo overcooking. Don’t be discouraged if your first attempt isn’t perfect. If something is undercooked, you can always seal the cooker and cook for a few more minutes. Over time, you’ll get a feel for how your cooker behaves.
- Trial & Error: Converting recipes may require a bit of trial and error to get perfect. Start with these guidelines, and don’t be afraid to adjust as you learn how your stovetop pressure cooker behaves compared to an Instant Pot.
- Document Adjustments: Keep a note of any adjustments you make for each recipe. This will be incredibly helpful as a reference for future cooking.
| Instant Pot | Stovetop Pressure Cooker |
|---|---|
| Lower psi | Higher psi |
| Slower pressure buildup | Faster pressure buildup |
| Better pressure regulation | Possible liquid loss |
| Exact cook time | Reduced cook time (15%-20%) |
Remember these tips while converting recipes, and you’ll be well on your way to creating delicious dishes with your stovetop pressure cooker.
Converting Slow Cooker Recipes to Pressure Cooker

Pressure cookers have a higher temperature and create a steamy environment inside the pot, which allows for much faster cooking times. Slow cookers, on the other hand, cook at a lower temperature for a longer period of time. As a result, if you want to convert a slow cooker recipe to a pressure cooker recipe, you will need to greatly reduce the cook times.
- Adjust Cooking Times: One of the most significant differences between slow cookers and pressure cookers is the cooking time. Generally, a recipe that takes 6-8 hours on low or 3-4 hours on high in a slow cooker will only take about 15-20% of that time in a pressure cooker. For example, a dish pork shoulder that cooks for 8 hours in a slow cooker would only need about 60-70 minutes in a pressure cooker.
- Reduce Liquids: Since pressure cookers are sealed, there’s very little evaporation during cooking. If your slow cooker recipe includes a lot of liquid (like broth, water, or sauce), reduce the amount. As a rule of thumb, only use enough liquid to ensure the pressure cooker can come to pressure — usually about one cup. The exception is soups or stews that are meant to be mostly water.
- Layer Ingredients: Put ingredients that take the longest to cook at the bottom, closer to the heat source. More delicate items, like vegetables, should go on top.
- Thickening Sauces: If your slow cooker recipe results in a thick sauce, you might need to adjust for the pressure cooker. Since there’s little evaporation, sauces will be thinner. After pressure cooking, you can thicken the sauce using a slurry (a mixture of cornstarch and water) and simmering it using the sauté function.
- Beans and Legumes: If your recipe includes beans or legumes, remember that these cook much faster in a pressure cooker. There’s no need to pre-soak them as you might for a slow cooker. For example, pinto beans need to cook for 7-8 hours in the slow cooker, but only need 30 minutes in the pressure cooker.
- Test and Adjust: The first time you convert a recipe, it might not be perfect. Use the experience to adjust cooking times, liquid amounts, and seasoning levels for next time.
Like this recipe? We’d love for you to share it on your Pinterest boards! Click to follow our Pinterest boards so you can find all our recipes! You can also find us on Facebook!

Laura is a passionate home cook and the owner of A Pressure Cooker Kitchen. She is dedicated to helping people create delicious Instant Pot meals with ease. Laura is an expert at developing recipes that can be prepared quickly and easily using a pressure cooker.