This Instant Pot Sushi Rice recipe is basically foolproof. It comes out perfectly cooked every time in just 20 minutes total. Add sushi rice seasoned vinegar and you’re ready to start rolling sushi.
» Also try Instant Pot Butter Chicken.

If you’re getting ready to make sushi at home, you’re going to need a big lovely bowl of sticky sushi rice. There is no better way to cook it and make sure it comes out perfectly every time than in the Instant Pot.
Over the years, I’ve struggled horribly making sushi rice on the stove top. For whatever reason – too hot, too long, too much moisture – it just never came out very good. It would either be a little crunchy still, or completely soggy.
One time I ruined two separate batches on the stove top before I got frustrated and decided to try the Instant Pot. Lucky for me, it turned out perfectly and I never went back to making it on the stove top.
By the way: you can cook all kinds of rice in the Instant Pot, try cooking jasmine rice, basmati rice, and sticky rice as well.
What is Sushi Rice?
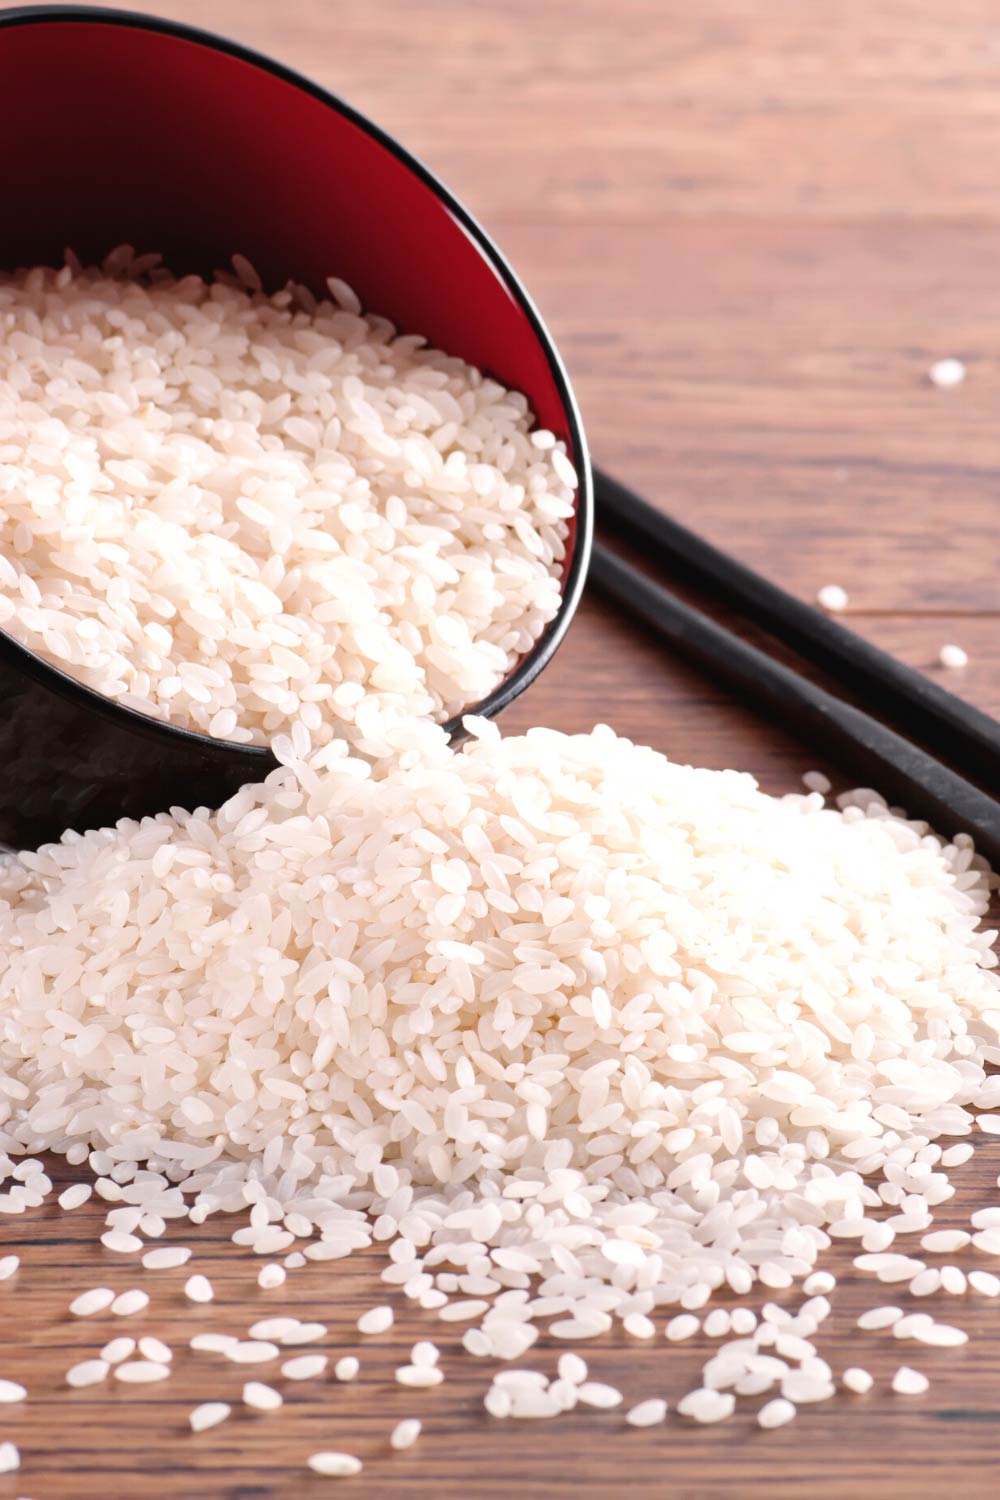
Sushi rice is made with a short grain rice that often becomes quite sticky when cooked. To make it perfect for sushi, some vinegar, sugar and seasonings are added to the rice after cooking to give it flavor.
The main difference between sushi rice and white rice is the texture. Sushi rice is much stickier than white rice, making it ideal for sushi. It attaches very easily to a piece of nori (seaweed paper), and stays on the roll, even while eating it.
There is a lot of confusion about what type or rice to use for sushi. If you need a crash course, check out this post. Basically, you need short grain rice – not glutinous or sticky rice, and definitely not medium or long grain rice.
Click to see a step-by-step instruction video.
What Do You Need?
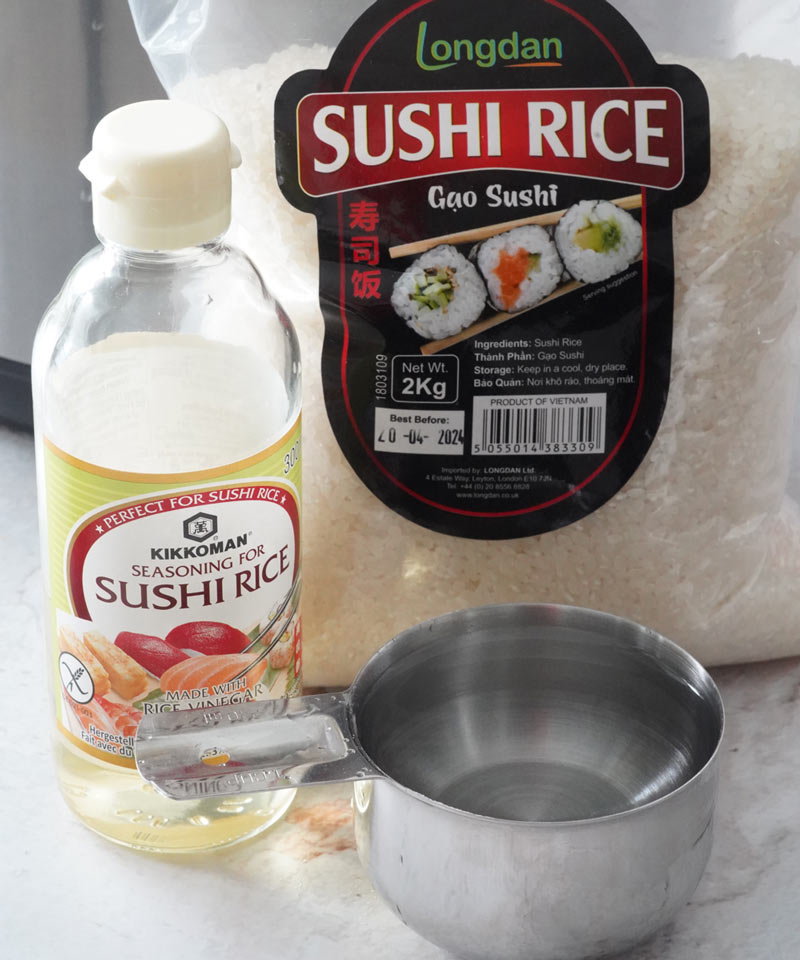
- Short Grain Rice or “sushi rice”
- Water
- Seasoned sushi rice vinegar – I use Kikkoman brand but there are many different brands available. It will be called Seasoned rice vinegar for sushi, not “brewed rice vinegar”, which does not contain the extra spices and sugar it needs. You can also make your own sushi vinegar.

I use a one to one ratio of short grain rice to water. And make sure it’s cold water so it has the extra time to heat up in the Instant Pot.
Tools You’ll Need
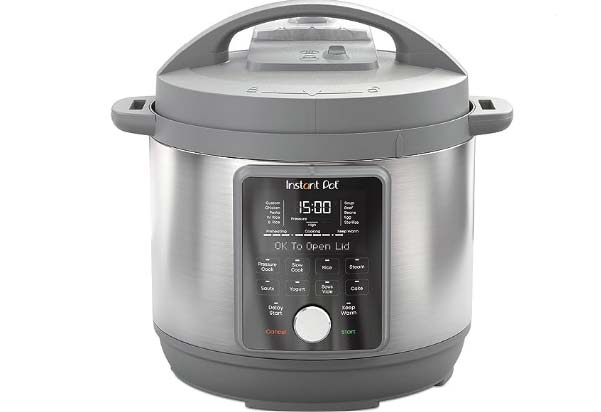
- Instant Pot – any size pot will work for this recipe. You can make as much as will fit to the max fill line.
- Fine mesh strainer – You need this to properly clean the rice and drain it of the extra starches.
- Spatula – Use a non-reactive (non metal) spatula or ideally a sushi rice paddle.
How to Make Instant Pot Sushi Rice
Rinse the rice in cold water about 4-5 times until the water runs clear. This just takes about 3 minutes. You can put the rice in a colander sitting inside a bowl and run the water over it until the really milky water gets clearer.
Then drain as much excess water from the rice as you can before adding it to the Instant Pot. This is because you’ve already measured out the water and adding any additional water will throw off the ratio. Pour in the water over the rice.

Stir it to break up any clumps. Then lock the lid and set the vent to sealing (if that’s necessary for your model).
Press the pressure cook button and set the time to 4 minutes. When the time is up, let the pressure release naturally for 5 minutes, then do a quick release of the remaining pressure.
You’ll want to remove the inner pot from the machine right away so the rice stops cooking. Stir the rice to fluff it up, then transfer it to a glass, wooden, or plastic bowl – not metal.
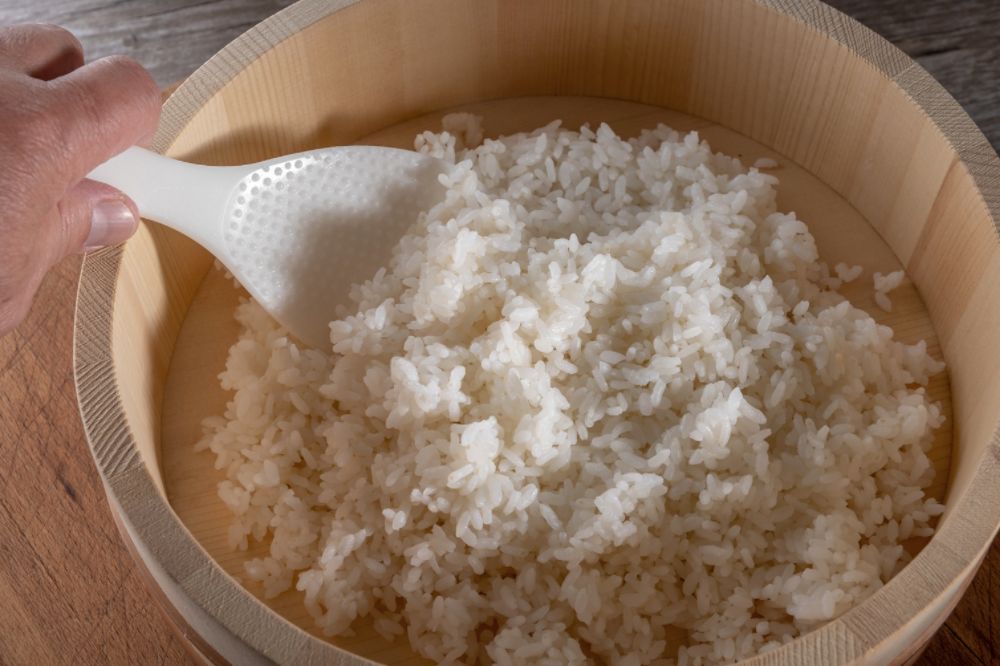
Allow most of the steam to escape from the rice by letting it rest for a few minutes. While the rice is still warm, pour the vinegar evenly over the top. Then use the spatula or paddle to cut the rice and incorporate the vinegar evenly amongst the lot.
You don’t want to “stir” the rice. You want to “cut” through the rice with the spatula. This is to keep the rice from becoming overly sticky or damaging it too much so that it loses it’s texture and become gummy.
What to Make With Sushi Rice?
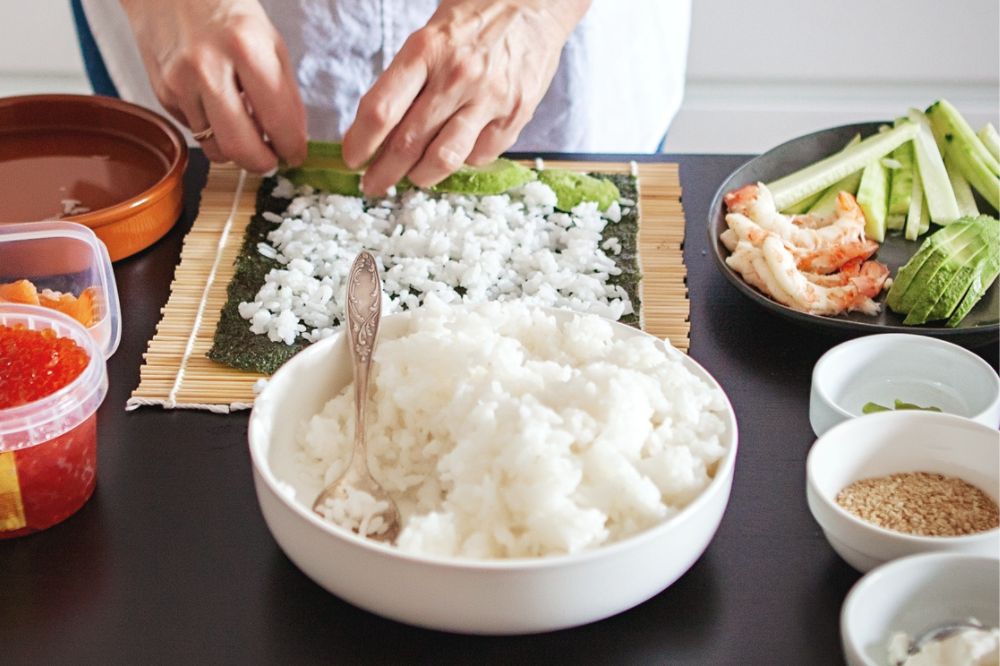
I love making sushi at home. It’s a fun activity to do for date night with your spouse or to teach your kids (even if they won’t eat the sushi they make. There’s such a variety of sushi you can make – you never know, they might find one they like!
Once the sushi rice has cooled to room temperature, you can use it to make rolls, hand rolls, or even just to add it to a salmon sushi bowl. It’s not advised to put the rice in the refrigerator because once it gets really cold, it isn’t as easy to work with and loses some of it’s flavor nuances.
Why Use An Instant Pot?
The Instant Pot is one of the most useful kitchen appliances you can buy, because it drastically cuts down on the cooking time for developing flavors in soups and stews, getting tough cuts of meat tender, and even baking a cheesecake. If you don’t have one, check out our guide on which one to buy. Also see our guide to How to Use an Instant Pot and the many accessories you can buy for it.
- Don’t Have an Instant Pot? This guide can help you choose the right one.
- See reviews and prices for Instant Pots on Amazon.
- Learn some great Instant Pot Tips & Tricks.
- Click to find more recipes to make in your Instant Pot.

Tips for Cooking Rice in the Instant Pot
- One cup of dried rice makes approximately 3 cups of cooked rice. If you want to cook more rice, you can double or triple the amount of rice and water. Two cups of dried rice makes 6 cups of cooked rice. The cooking time is the same no matter if you use one or three cups of rice.
- It is necessary to rinse the rice before cooking it. For short grain rice, it’s important to rinse it under cold water until the water runs clear. This will rinse off excess starches and prevent the rice in becoming too sticky or gummy.
- You don’t want to soak the rice at all before cooking it. It should be cooked right away after rinsing, to prevent the rice from soaking up some of the water before hand. It can become soggy.
- Let the rice rest for 5-10 minutes before adding the sushi vinegar to release some of the excess steam.
- Don’t leave the rice in the Instant Pot on keep warm, or it will overcook and become soggy and gooey. You want to be precise with your timing – 4 minutes to cook, 5 minutes to release pressure, 5 minutes to cool in a bowl outside the pressure cooker.
YOU MIGHT ALSO LIKE


Like this recipe? We’d love for you to share it on your Pinterest boards! Click to follow our Pinterest boards so you can find all our recipes! You can also find us on Facebook!

Instant Pot Sushi Rice
Note: Made in a 6-qt Instant Pot
Equipment
Ingredients
- 1 cup sushi rice
- 1 cup cold water
- 2 tablespoons seasoning for sushi rice
Instructions
- Rinse the rice in cold water 4-5 times to expel the excess starch on the rice. Drain it well.
- Pour the rice and the cold water into the Instant Pot. Stir to break up any clumps.
- Close and lock the lid, set the vent to sealing. Press the pressure cook button and set the time to 4 minutes. When done, allow a 5 minute pressure release before manually releasing the remaining pressure.
- Open the lid and fluff the rice with a spatula. Transfer the rice to a glass or plastic bowl. Allow to cool for 5 minutes.
- Evenly distribute the sushi vinegar in to the rice and “cut” it into the rice with a spatula.
Nutrition
🥧 If you’re interested in more great recipes, I share all my favorite recipes over at A Food Lover’s Kitchen, and you’ll find air fryer recipes at Air Fry Anytime and cocktails and drinks at Savored Sips. Check it out today!
Like this post? Share it on Pinterest!


Laura is a passionate home cook and the owner of A Pressure Cooker Kitchen. She is dedicated to helping people create delicious Instant Pot meals with ease. Laura is an expert at developing recipes that can be prepared quickly and easily using a pressure cooker.